Do you have a stiff and sore back? This Yin Yoga poses will feel soooo good on your low back! These stretches are perfect for when you need to take it easy.
If you’re struggling with a tight low back—whether it occasionally nags you during a yoga class or regularly sidelines you in life—chances are you’ve tried any number of ways to understand and address it. Discerning the cause behind your discomfort along with an appropriate solution can take time and patience.
In the meantime, the quiet practice of Yin Yoga may help. With its long-held seated and reclined stretches, Yin may initially seem too simple, too straightforward, too passive to incur change for the better. Yet more and more people are reporting that it’s brought both physical and emotional relief to their everyday life.
What is Yin Yoga?
Yin Yoga, which targets the lower body, is a relatively recently developed style of yoga that’s based on the principles of traditional Chinese medicine as well as contemporary science. Developed in the ’70s, Yin has only recently gained traction in mainstream yoga studios.
Unlike the stretches you were taught during gym class back in elementary school that were unduly intense, Yin Yoga poses require your muscles to remain relaxed during the stretch. This ensures that you instead stretch your connective tissue, also known as fascia. Connective tissue comprises dense fibers that surround muscles and create a framework for organs.
These fibers literally form a network in the body, and they become less pliable with time, resulting in the decreased mobility many people experience with aging. Connective tissue requires different conditions than muscles for release and lengthening, and these conditions form the basis of Yin Yoga.
The regular practice of Yin has been shown to have a positive effect on the range of motion in joints, and proponents of Yin report they no longer experience backaches in the morning if they routinely stretch.
On an energetic level, you could liken practicing Yin Yoga stretches to doing an acupuncture session on yourself, says yoga teacher Sarah Powers, who has taught Yin Yoga with Paul Grilley and co-founded the Insight Yoga Institute, which integrates elements of Buddhism, Taoism, and psychology.
Yin yoga postures and sequences strengthen energy channels, known as meridians in traditional Chinese medicine and nadis in yoga, by enhancing the flow of prana (life force) in places where energy often stagnates. This ultimately supports your organs, immune system, and emotional well-being.
The three conditions for any Yin Yoga pose
There are three essential principles to consider as you stretch in the style of Yin:
1. Come into the pose to an appropriate depth—and don’t go past it
“Come to your edge,” is a common refrain among Yin Yoga teachers and a core tenet. What this means is allowing the stretch to happen by releasing into it rather than forcing the stretch by engaging your muscles.
“Yin Yoga deliberately targets the deeper connective tissues,” says Powers on YinYoga.com. “To be most effective we want the muscles to be relaxed. If the muscles are…active they will tend to absorb most of the tension of the stretch.”
2. Remain still
Let yourself be still, as you would during meditation. “Every time you come into a pose, go only to the point where you feel a significant resistance in the body,” explains Powers on YinYoga.com. “Don’t try to go as deep as you possibly can right away. Give your body a chance to open up and invite you to go deeper. After thirty seconds or a minute or so, usually, the body releases and greater depth is possible. But not always. Listen to the body and respect its requests.”
3. Stay in the pose for a length of time
Yin Yoga poses generate significant physiological changes in response to a stretch, yet this happens only if the pose is maintained for a certain duration of time. Yin poses are typically held for 3-5 minutes.
What are the other benefits of Yin Yoga?
When you remain in a stretch for longer than you’re accustomed, it can be a struggle not just for your body but your psyche. Yin stretches condition you to stay still and be present with the sensations that can arise rather than distract yourself by moving into the next pose.
“It trains you to become more comfortable with discomfort instead of becoming alarmed,” Powers says. “It marries meditation and asana into a very deep practice.” The quiet, motionless state brought about by Yin has been likened by many to meditation and can bring a similarly calming effect.
Yin can complement, rather than replace, your existing yoga practice. Powers teaches Yin along with what she refers to as Yang, or her version of vinyasa (flow) yoga. She encourages students to practice Yin before or after a regular routine or as a stand-alone sequence at least two to four times a week.
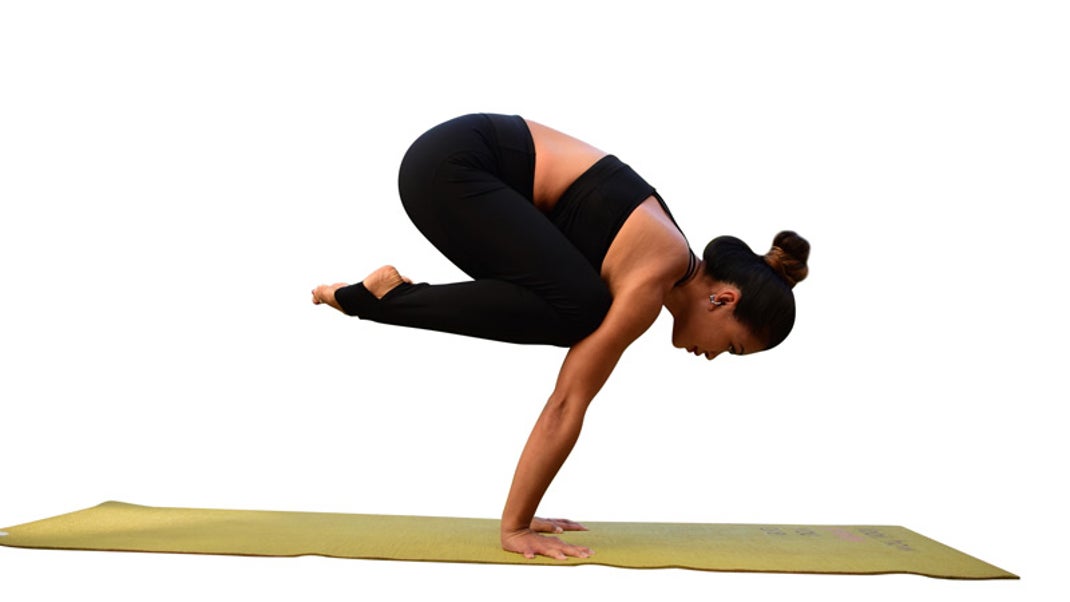
Incorporating Yin into your routine can even enhance your ability to access more challenging yoga poses in your other classes. “You’re conditioning the tissues to become more elastic, so practicing has a cumulative effect,” she says. “The more you do it, the more you’ll want to do it.”
A Yin stretching sequence for the low back
The Yin sequence that follows targets the lower back and balances what traditional Chinese medicine refers to as the kidney meridian. Tension held in the low back can block the flow of energy in organs situated nearby, including the kidney and adrenals. “When kidney chi [energy] is revitalized, you’ll feel vibrant,” Powers says.
If you can, remain for 3 to 5 minutes in the pose. Pause for a few moments in a neutral position, or with a straight back, after each pose. You may want to have within reach a folded blanket or towel and a bolster, cushion, or pillows to support your hips or head so that your muscles can remain relaxed rather than strain to come into a pose.

Butterfly Pose
Sit on a blanket or cushion. Shift your weight forward, on the front edge of your sitting bones, bring the soles of your feet together and slide them away from you to form a diamond shape with your legs. Let your knees fall out to the sides like butterfly wings.
Fold forward from the hips to your appropriate edge, then relax your upper spine and let it round. Relax your shoulders and neck and let your head fall toward the arches of your feet. You can cup your head in your hands while your elbows rest on your feet or, if your chest is lower, you can rest your head on your stacked fists. After 3-5 minutes, inhale as you slowly lift your chest. Stretch your legs forward and lean back on your hands.

Saddle Pose
Sit on your shins and lean back on your hands. If the stretch feels intense on your knees, skip this pose. If you feel too much pressure on your ankles, place a folded towel or blanket underneath them.
Slowly lower yourself onto your elbows or upper back, keeping your lower back in an exaggerated arch and, if need be, allowing your knees to spread apart. If your thighs (quadriceps) feel strained, rest your shoulders and head on top of a bolster, cushion, or folded blanket. To come up, place your hands where your elbows were, engage your abdominal muscles, and inhale as you slowly lift yourself.

Sphinx Pose
Lie on your belly with your legs stretched behind you. Place your elbows on the floor, shoulder-distance apart, and about an inch or so in front of your shoulders. You can rest your hands on the mat or cross your forearms and gently grasp opposite elbows.
Rest here, without slumping into your shoulders or lifting them. Let your belly drape toward the floor as you relax your glutes and legs. If you feel a strong sensation in your low back, engage your outer buttocks and inner legs for all or part of the stretch to lessen it or skip this pose.

Seal Pose
This pose is similar to Sphinx but creates more of an arch in the lower back. Begin in Sphinx, then prop yourself up on your hands with your arms straight ahead. Slide your hands out about 4 inches in front of the shoulders and a little wider. Turn the hands out slightly, like seal flippers.
Distribute your weight evenly across your hands to avoid stressing your wrists. If it’s tolerable, relax the muscles in your buttocks and legs. If not, contact them from time to time to relieve the intense sensations. Your ability to remain relaxed in your muscles may take a few months of practice. Be patient but do not remain in the pose if you feel sharp sensations. On an exhalation, slowly lower yourself down. Remain still and breathe into your spine as you rest.

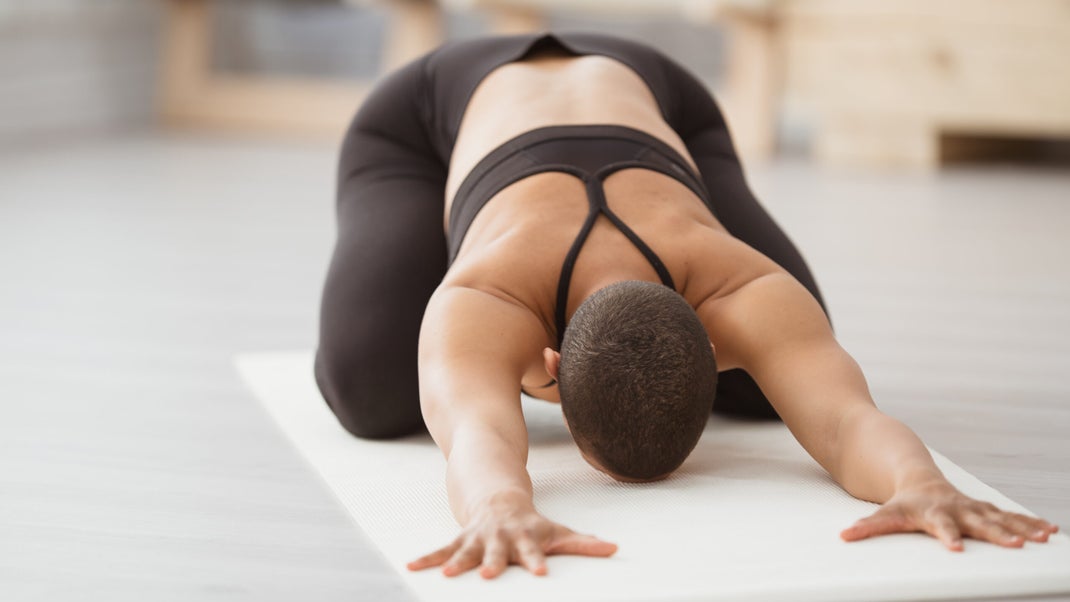
Balasana (Child’s Pose)
When it feels appropriate, from Seal pose slide your hands beneath your chest and, on an inhalation, slowly lift your upper body away from the floor. As you exhale, bend your knees, slide them a little wider than your hips, and draw your hips back toward your heels into Child’s Pose.
Half Dragonfly Pose
From Child’s Pose, shift your weight onto one hip and sit on a blanket or cushion with your left leg outstretched and the sole of your right foot pressing into your inner left thigh. Move your right knee back a few inches, toward the wall behind you. If your bent knee doesn’t rest on the floor, you can place a folded blanket, cushion, or pillow under it to help with comfort. As you exhale, bend your spine over your straight leg, placing your hands on either side of it. Do the other side before moving on.

Dragonfly Pose
After you’ve done Half Dragonfly on both sides, bring your legs wide apart, exhale, and bend forward from the hips. Place your hands on the floor in front of you, or rest on your elbows or on a support like a bolster, pillow, or folded blanket.
If it feels natural, come all the way down onto your belly. If your knees feel unstable, back off by lifting the chest a little and engaging your quadriceps from time to time. Attempt to hold this pose for 5 minutes or more.

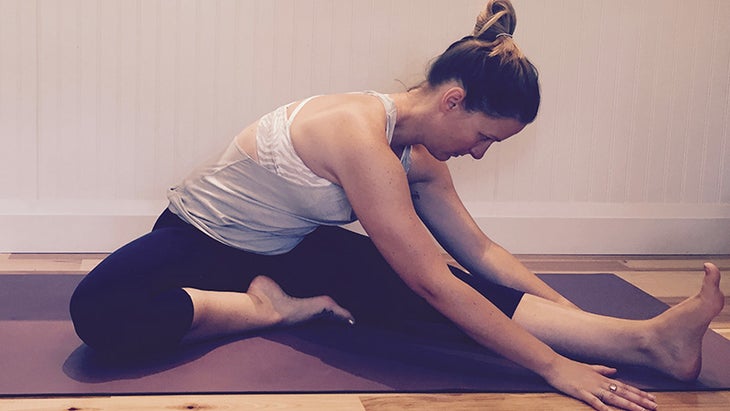
Caterpillar
Gently bring your legs back together. Bend forward at the hips, curving your spine into a forward bend. If you have sciatica or if your hips tilt backward, instead lie on the floor with your legs up the wall. Your hands can rest wherever comfortable, whether alongside your legs or closer to your feet.

Savasana (Corpse Pose)
Come into Corpse Pose with your arms angled out at your side, palms facing up, or your hands resting on your abdomen. Let your legs be slightly wider than your hips and relax your butt, legs, and feet. Invite ease and complete relaxation into your mind and body.
Conclusion:
These Yin Yoga Poses Will Feel Soooo Good on Your Low Back. These poses can be done as a sequence or separately for short periods. If you like the benefits of yoga, there are many styles to choose from that will work your body and heart in different ways!