This blog post is about how rupturing my hamstring tendon helped me learn a better way to stretch. It’s not just about the injury, but also what I’ve learned and applied in my life since then. How does stretching relate to injuries? How can you use this information? This blog will break down everything you need to know and help you get started on your journey of flexibility!
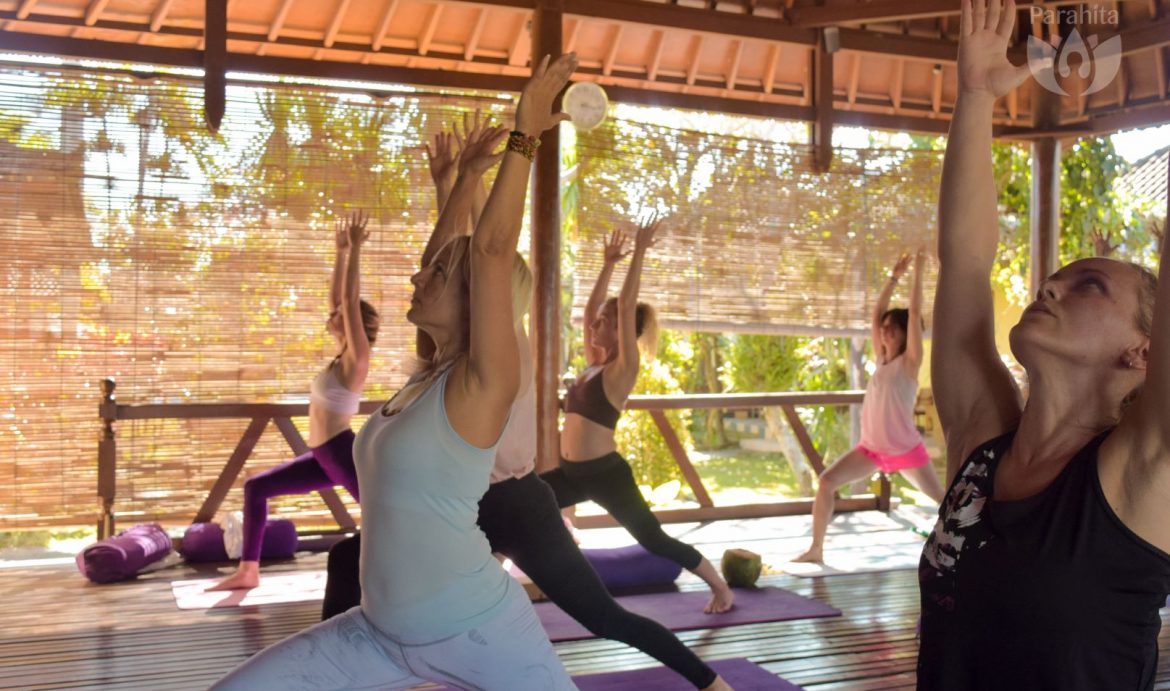
“Lock it out, girl!” I heard the teacher yell from across the room. I could see in the mirror that my lifted leg was nearly straight as I reached towards my reflection in Standing Bow-Pulling Pose.
I had pulled my left hamstring early on in my yoga practice. Some days it felt fine; other days it didn’t. I was also suffering from chronic pain, which I now know was tendinosis (chronic inflammation of the tendon, leading to degradation) right in that spot where the biceps femoris strip of the hamstring connects to the sitting bone.
But at that moment, I didn’t care. My endorphins were pumping and I really wanted that “perfect” split balanced on one leg. Just as I accomplished my goal, I heard a loud pop, followed immediately by what felt like the total muscular failure of my standing leg. I fell into a heap on the carpeted floor, terrified. After a few deep breaths, I managed to pick myself up off the ground and hobble out of the yoga studio.
It took about 10 minutes for the paint to fully set in. The next morning, I tried to bend over and realized I couldn’t reach past my knees, let alone place my palms on the floor. A visit to the doctor shortly thereafter confirmed I had ruptured the tendon connecting my hamstring to my sitting bone, and there was nothing to do but wait for it to heal. I took an entire month off from my asana practice and started meditating.
Understanding Injury—and Different Ways to Lengthen a Muscle
After the anger and sadness came deep introspection. I had to ask myself: Where did I go wrong? Clearly, I owed my injury to the fact that I had failed to embody one of the central tenets of yoga, abhyasa, and vairagya: to maintain a disciplined practice while also remaining unattached to a particular outcome.
I will admit that in my early years as a yogi, I viewed the practice primarily as a liberating form of physical exercise—one that stabilized my moods and helped me sleep better at night.
I was definitely a collector of poses, and I didn’t think all that critically about how the prescribed methods of attaining those picture-perfect postures might affect my body in the long term. And yet, as I came to learn more about anatomy and kinesiology throughout my yoga teaching career, I began to realize that perhaps my ego wasn’t solely to blame. In fact, it was possible that my movement patterns in yoga classes had also left me vulnerable to injury.
Leading up to that fateful day when I tore my tendon, I had been practicing both Bikram and Vinyasa in New York City for several years. Being a typical New Yorker, I approached yoga with the same intensity that characterized most aspects of my life. I listened to my teachers and practiced every day without fail. I completed my first 200-hour teacher training at a well-known Vinyasa studio downtown, during which we covered the anatomy of the entire human body in the span of two days—without much discussion of how certain movements might heal or exacerbate particular dysfunctions.
Traditionally, both Hatha and Vinyasa Yoga involve a great deal of static stretching, meaning that the muscle being stretched is basically passive for thirty seconds or more. Although I’m sure the information was available somewhere, I had no idea that some doctors and physical therapists were arguing that this type of repetitive static stretching could actually weaken tendons, making them more susceptible to strains and tears.
The Path to Learning More About My Injury
The tendon connecting the hamstring to the sitting bone is particularly vulnerable to injury given that it is compressed during stretches that involve hip flexion. According to yoga teacher and educator Jules Mitchell, forward folds, Downward-Facing Dog, and the splits (among others) all compress the hamstring tendon against the boney protuberance of the sitting bone, which can lead to degradation over time.
In the years following my injury, my approach to yoga changed dramatically. Coming to my yoga mat became less about expanding my repertoire of poses and more about maintaining a sustainable relationship with my body over time. I wanted to understand on a deeper level how the human body—and specifically my body—functions.
I read physical therapy textbooks and sought out anatomy teachers. I still wanted to experience the joy of a challenging flow, but I wanted to do it safely. I didn’t want to abandon static stretching entirely, but I was looking to balance it out with other types of movement.
It was during this time that I came across information on the benefits of eccentric training (sometimes referred to as eccentric stretching) and PNF (proprioceptive neuromuscular facilitation) stretching. The addition of these practices to my yoga sequences has become an integral part of maintaining a caring and workable relationship with my body, which has helped me build strength and flexibility while staying injury-free over the last decade.
How My Yoga Injury Taught Me a Different Way to Stretch
In the simplest terms, both eccentric training and PNF stretching include techniques that require a practitioner to contract and lengthen a muscle simultaneously. However, while eccentric training involves movement, PNF does not. Eccentric training involves contracting a muscle under a load while that muscle is lengthening.
For example, your inner thigh muscles, or adductors, shorten when you bring your knees together from reclined butterfly pose (Supta Baddha Konasana); they lengthen when you slowly open your knees and lower them towards the ground. The lowering phase is an example of eccentric training, as the adductors are working against gravity in a lengthened state. Eccentric training works to strengthen tendons, which makes it particularly effective in treating and preventing tendinopathies (tendon injuries).
On the other hand, PNF involves stretching a muscle against pressure so that the muscle contracts, ultimately allowing the muscle to relax. An example of this would be pressing down into the floor with the edge of your heel during a half split pose (Ardha Hanumanasana) for a slow count of three to five. As anatomist Ray Long, MD, points out in the second volume of his Guide to Functional Anatomy in Yoga, the point of temporarily contracting the muscle being lengthened is to stimulate the Golgi tendon organ, which then signals to the muscle that it is safe to release. This release is called the “relaxation response.” PNF stretching is an effective way to not only increase your range of motion but also strengthen the muscle that’s being stretched.
How to Practice PNF Stretching
Half Split Pose with PNF
 Lyan Bernales
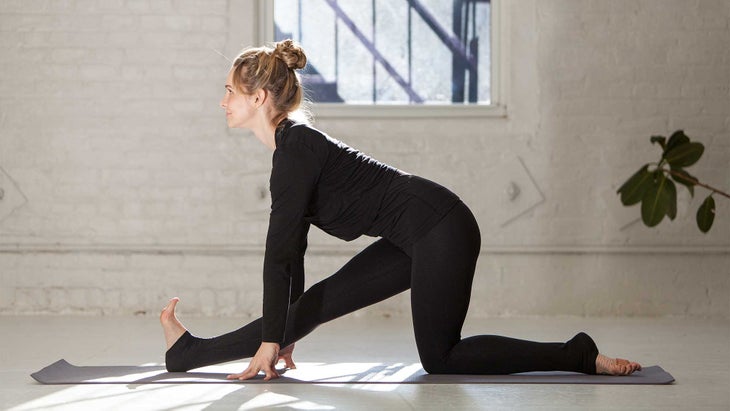
Begin in a low lunge, with your hands framing your front foot. Drop your back knee and un-tuck your toes. Lengthen your front leg and shift your hips back so that your back knee and hip are in the same line. Then, flex your front foot, and using about 20-50% of your power, press down into the edge of your heel almost as though you are trying to press through the floor and drag your heel back without actually moving it. Hold the contraction for a slow count of 3 to 5, then release.
Low Crescent Lunge with PNF
 Lyan Bernales
Begin in a low lunge. Drop your back knee and un-tuck your toes. Bring your hands to the top of your front thigh for support. Using about 20-50% of your power, press into your back knee as though you are trying to drag it forward in space without actually moving it. Hold the contraction for a slow count of 3 to 5, then release. Another variation involves pressing into the top of your back foot so that your kneecap and shin lift and you feel as though you are trying to pull your back foot forward.
How to Practice Eccentric Training
Tippy-Toe Tadasana on a Block with Eccentric Lowering Phase
 Lyan Bernales
Begin by standing on a yoga block with the balls of your feet balanced on the edge of the block. Take your palms in prayer at your heart and lift your heels so you are on your tiptoes. Then, lower your heels as slowly as possible. The lowering phase is the eccentric training. Repeat several times.
Eccentric Psoas Training
 Lyan Bernales
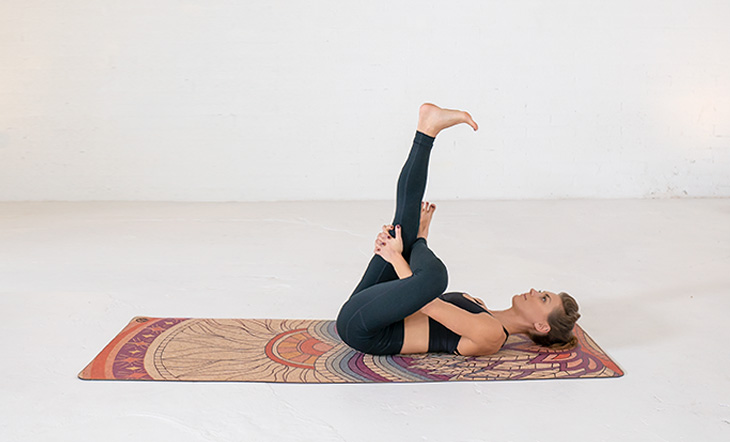
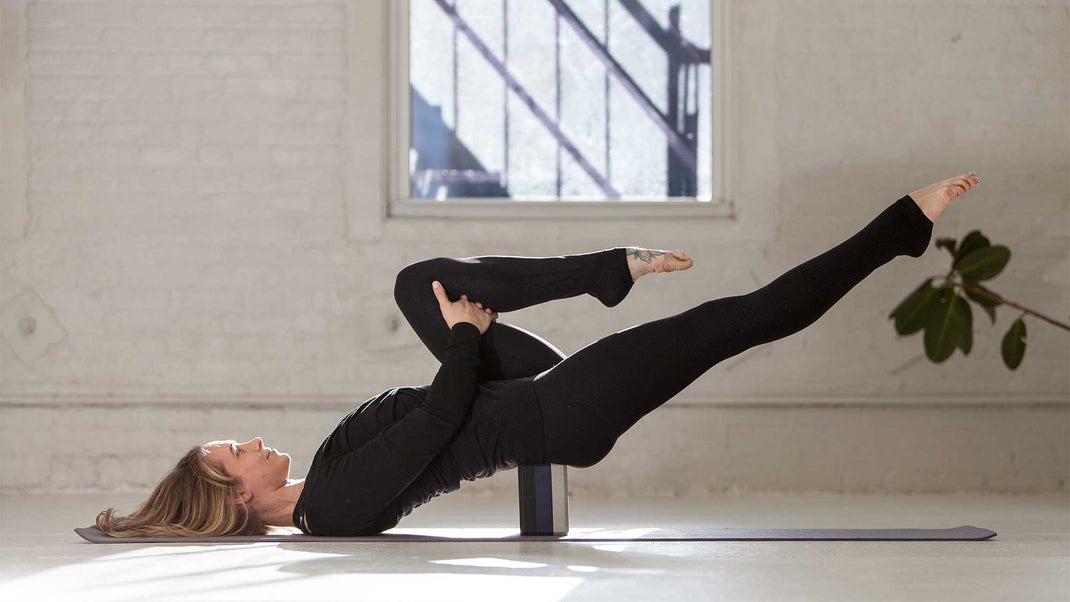
Begin by laying on the floor in supported Bridge Pose with a block under your sacrum. Draw one knee up toward your chest and hold onto to the back of your thigh. Cinch your waist and extend your other leg straight down toward the ground. Lift your extended leg until you can see your toes, then lower it down very slowly to touch the ground. Lift that leg back up and again, lower it down very slowly to tap the ground. The lowering phase is the eccentric contraction. Repeat several times on each side.
Eccentric Thoracic Block Curls
 Lyan Bernales
Begin by laying down over a yoga block with the narrow edge of it positioned just below your shoulder blades at medium height. Bend your knees, place your feet wider than your hips, and bring your knees to touch. Interlace your fingers at the base of your skull. Lift into a slight crunch that doesn’t destabilize the block, then very slowly lower back over the block, opening up your chest. Repeat several times.
Eccentric Bridge Lifts working the Hamstrings
 Lyan Bernales
Start on your back with your arms alongside your body and your palms facing down. Bend your knees and place the soles of your feet on a towel or yoga blanket. (Your feet should be about hip-width distance apart, with your heels under your knees.) Lift your seat and lower back off the ground, stopping at your shoulder blades. Very slowly, make use of the blanket by sliding your heels away from you until your legs are long but your seat is still lifted. Then, in a faster motion, draw your feet back into Bridge Pose with your knees bent. Repeat several times.
Supta Baddha Konasana Flaps
 Lyan Bernales
Begin by laying on your back. Bend your knees and place the soles of your feet on the ground, close to your sitting bones. Let your knees fall open with the soles of your feet touching. Using your hands to help, draw your knees towards each other until they almost touch. Then, very slowly, lower them back toward the floor. Repeat several times.
Conclusion:
There are many ways to practice and modify eccentric training exercises. The key is to make sure that you never go so fast or hard in the lowering phase of an exercise that your body cannot handle it. Always start very slowly, then build up speed as your body adjusts and becomes stronger over time!